StitchBloomGarden
How to Start Cross Stitch: Supplies and Your First Stitches
Cross stitch is one of the easiest crafts to pick up. If you can count to ten and thread a needle, you can make something you’ll want to frame. Here is what you need and how to make your first stitches.
The supply list
You only need a few things, and most of them cost very little:
- Aida fabric, 14 count. The holes are easy to see, which makes counting simple. White or cream is easiest for a first project.
- DMC embroidery floss in the colors your pattern lists. Each pattern comes with a thread list with DMC color numbers.
- A tapestry needle, size 24. It has a blunt tip and a big eye. Use size 26 for 16 or 18 count.
- An embroidery hoop a little bigger than your design, to keep the fabric tight.
- Small sharp scissors for cutting floss.
- Your pattern, printed or open on a tablet. Our PDFs also work with the Pattern Keeper app, which lets you mark stitches as you go.
How to read a chart
A cross stitch chart is a grid. Each square on the chart is one stitch on your fabric. The symbol or color in the square tells you which floss to use, and the key matches each symbol to a DMC number.
Two tips that save a lot of frustration:
- Start in the middle. Fold your fabric in half both ways to find the center, and start from the center of the chart (usually marked with arrows on the edges). This keeps the design centered.
- Count twice, stitch once. Most mistakes come from being one square off. Bold grid lines every 10 squares make counting easier.
Making a cross stitch
A cross stitch is two diagonal stitches that cross in the middle of one square:
- Bring the needle up through the bottom-left hole of the square.
- Go down through the top-right hole. That’s the first half, a ”/” stitch.
- Come up through the bottom-right hole and go down through the top-left. That’s the ”\” that completes the X.
The one rule that makes work look neat: always cross your stitches in the same direction. If the top stitch goes ”\” on one X, it should go ”\” on every X.
For a row of the same color, you can stitch all the ”/” halves along the row first, then come back with all the ”\” halves. It’s faster and very even.
Starting and finishing threads without knots
Knots make lumps under your framed piece. Instead:
- To start, leave a 1 inch tail on the back and hold it in place, then cover it with your first few stitches.
- To finish, slide your needle under 4 or 5 stitches on the back and trim the end.
Pick a small first project
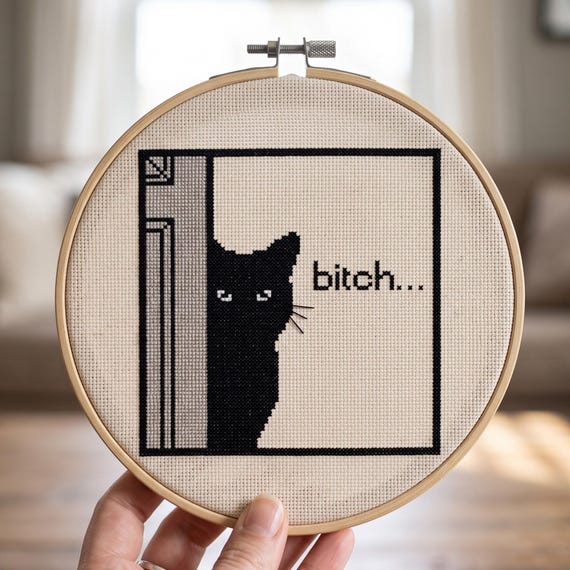
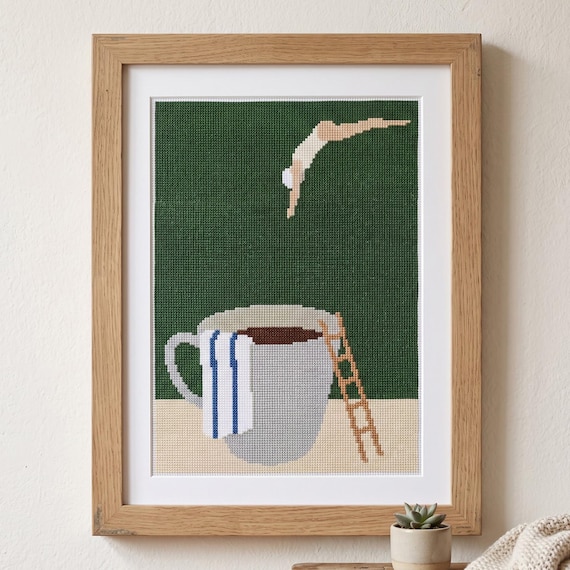
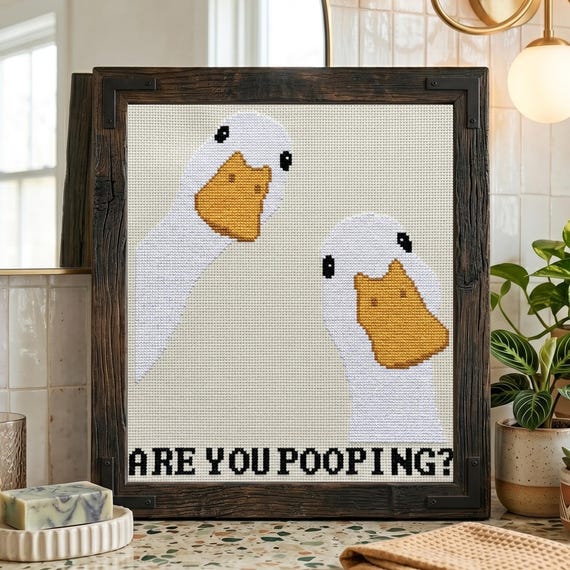
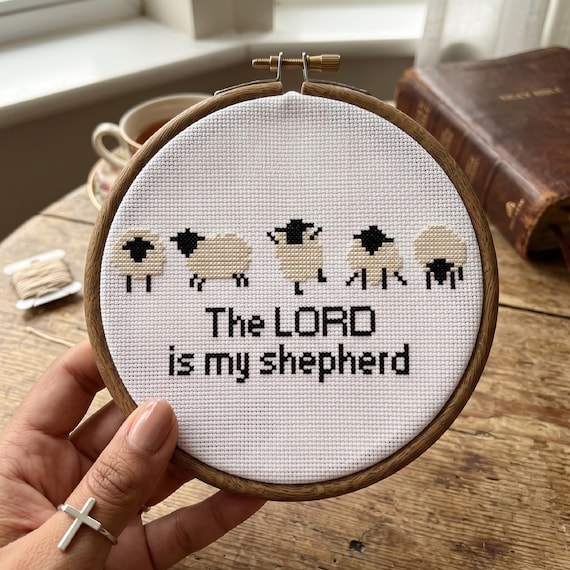
Choose a design under about 80 x 80 stitches with fewer than 10 colors. You’ll finish it in a few evenings, and finishing your first piece is the best motivation to start the next. The patterns below are good first projects with clear charts and short color lists.
Happy stitching!